Mini OldHam Leadscrew Wobblers
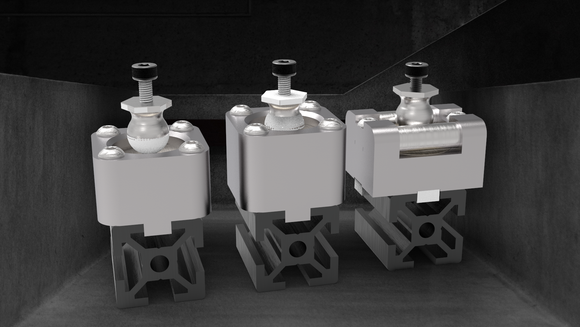
Our Mini OldHam wobblers support 16mm hole layouts for AntiBacklash nuts.
The mini oldhams were designed in order to allow use on certain printers such as the Jubilee and RatRig printers that didn't have the room for the larger oldhams. They were also designed to be used in conjuntion with the machined arms and yokes we make for these printers.
This product has been long in development and we are really excited to be able to announce that they are now available.
No need to replace your yokes, or even affect your alignment, simply bolt these in between your AntiBacklash nut, and your yoke. The oldham takes care of the rest for you. We have designed these to work with 16mm antibacklash nuts.
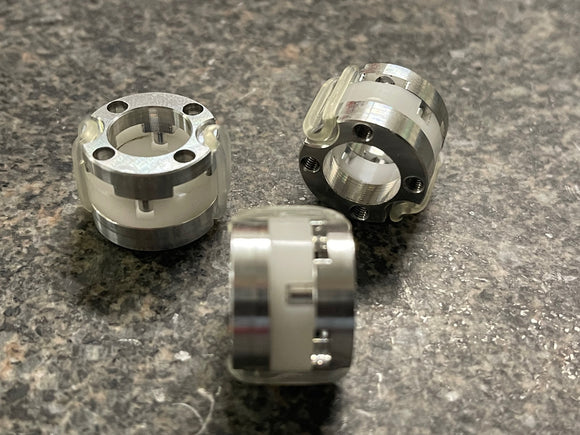
The oldhams are held together with silicone orings rated for 200C.
Note: These items ship with m3x8 cap head screws to hold on the antibacklash nut and 4 of these screws come with each oldham in the kit. For example, if you order a set of 3, you get 12 m3x8 screws.
Installation is really easy:
1) Remove the bed from the yokes or arms and set it down inside the printer. (Yes you may have to clean out the bottom of the printer. :)
2) Detatch your Z Yoke from the Z slider making sure to hold on to the slider, and secure it with some masking tape so it does not slide off the rail. You do not want to repack bearings.
3) Loosen the coupler holding the leadscrew too the stepper motor.
4) Slide the leadscrew with attached Yoke and A/B Nut out of the printer.
5) Remove the orings from the oldham using the provided tool. Put each side of the T under a part of the oring that has the little round cutouts on it. Then push up and the T will push the oring off. Using fingernails can break the orings.
6) Install the oldham with thru holes to the A/B nut
7) Reassemble the oldham with the orings. You can use the tool and hook the oring on it and gently pull it up till the top of the oring holds onto the pin in the top of the oldham. Angle the tool so it is flat with the top of the oldham, and slide it out thereby seating the oring.
8) Attach the other side of the oldham to the yoke. (See the 3rd image in the photo gallery).
9) Reinstall your yoke and leadscrew into your printer.
Railcore®️ is a registered trademark of RailCore labs, LLC
We ship within one business day. Message us if your country is not available, and we will add it.